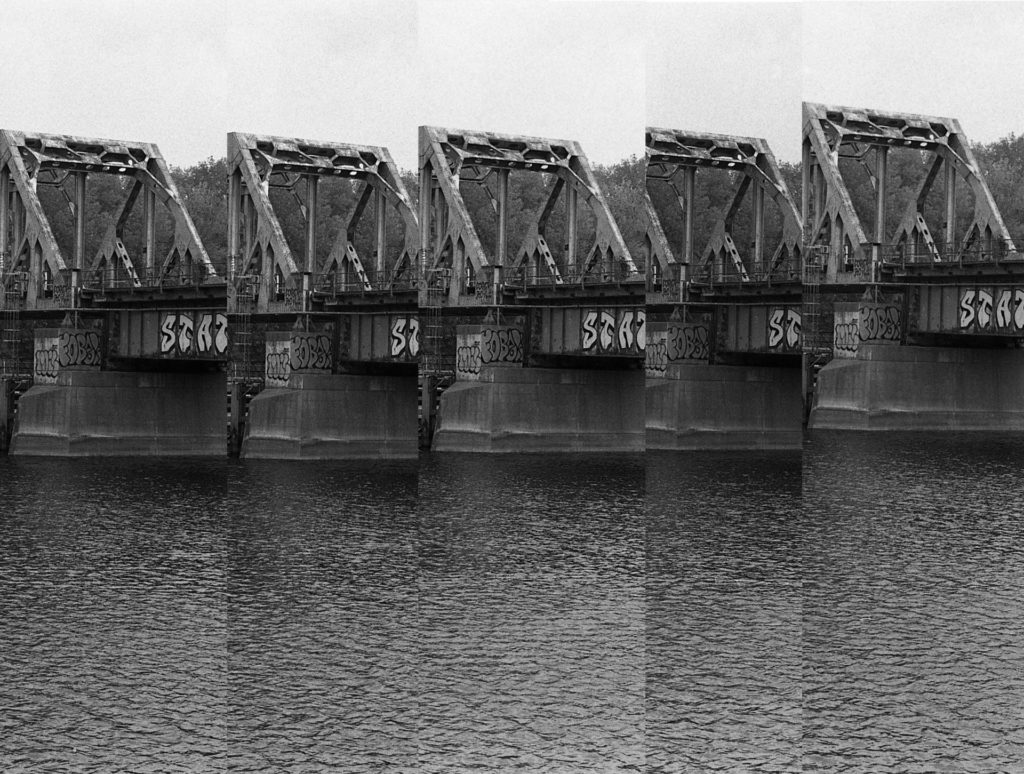
There are 3 stops of difference between these 5 photos. Can you tell which is which?

I can’t! Which I thought was weird since I intentionally took these 5 photos to test the exposure of Kentmere 100. I expected to see a noticeable difference here, but I didn’t. I could see the difference in the negatives, but not in the scans.
Epson, and my unfamiliarity with their scanning software, are to blame here. By default it will apply ‘color correction’ to a scan and attempt to put it in the ‘correct’ exposure (I think. Some of this is still unclear to me).
Some searching will turn up posts like this one that tell you what settings to use when scanning negatives with an Epson. When I followed that guide I got scans where I could easily tell which of those bridge shots were which.
This led me down a bit of a rabbit hole. What is the ‘right’ way to scan a negative?
The answer, from what I can see, is that there isn’t one. You can find dozens of guides and YouTube videos showing you how this or that photographer scans their negatives — but all of the approaches vary. How you scan will depend on what you want the result to be.
I would like my scans to look the same (roughly) as how they look when I make a “proper proof sheet“. I like proper proof sheets because they are honest about the negative’s exposure. Overexposed and underexposed shots are very visible on a proper proof.
I made a proper proof of the same five photos and it looked like this. More or less, taking in to account glossy paper, lighting and whatever magic the iPhone does.

To get my scans to look even close to that, I had to
- Scan as a positive without any color correction, gamma, etc
- White balance the scanned image based off the rebate
- Invert
- Adjust the levels to the edges of the photo’s range
- Tweak the curves until the photo more or less matches the proper proof
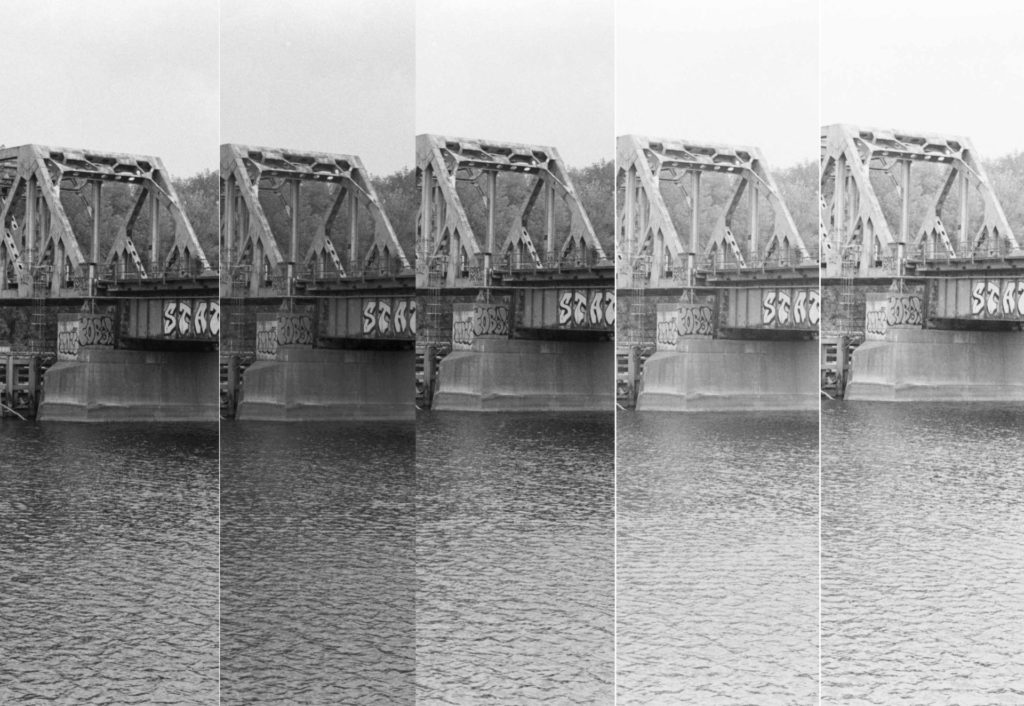
And from that I got this

Despite what it looks like, these are in order, from least to most exposed. Though that 2nd shot looks darker than the first. It also looks that way on the proof. Maybe the cloud cover changed between shots and reduced my light. I didn’t take all 5 of these in the same second.
Each of these had to be adjusted by hand to best match (according to my eyes) a proof sheet. And that proof sheet, had I adjusted the exposure timing by a second, or used a different filter than Ilford 2, would have looked different and thus I would have adjusted my scans to look different.
In short, any idea of an ‘objective’ scan is utter nonsense. Just as the idea of an objective darkroom print has always been nonsense. This is not a new idea I just came up with. In many of the ‘how to scan your negatives’ guides on the internet someone eventually points this stuff out.
I want people to get the idea of a “base, unedited scan” out of their heads completely. There is no such thing… Negatives were always meant to be interpreted in different ways and that still goes in the digital era.
https://www.alexburkephoto.com/blog/2013/06/02/scanning-and-editing-color-negative-film/
What I’ve learned here is that
- I should turn off all of Epson’s ‘helpful’ features
- After that, it’s up to me
Thanks for reading! You can always keep up to date by adding the site to a RSS reader or follow me over on Mastadon at https://mastodon.art/@ianwhitney. You can also subscribe for email notifications.
Leave a Reply